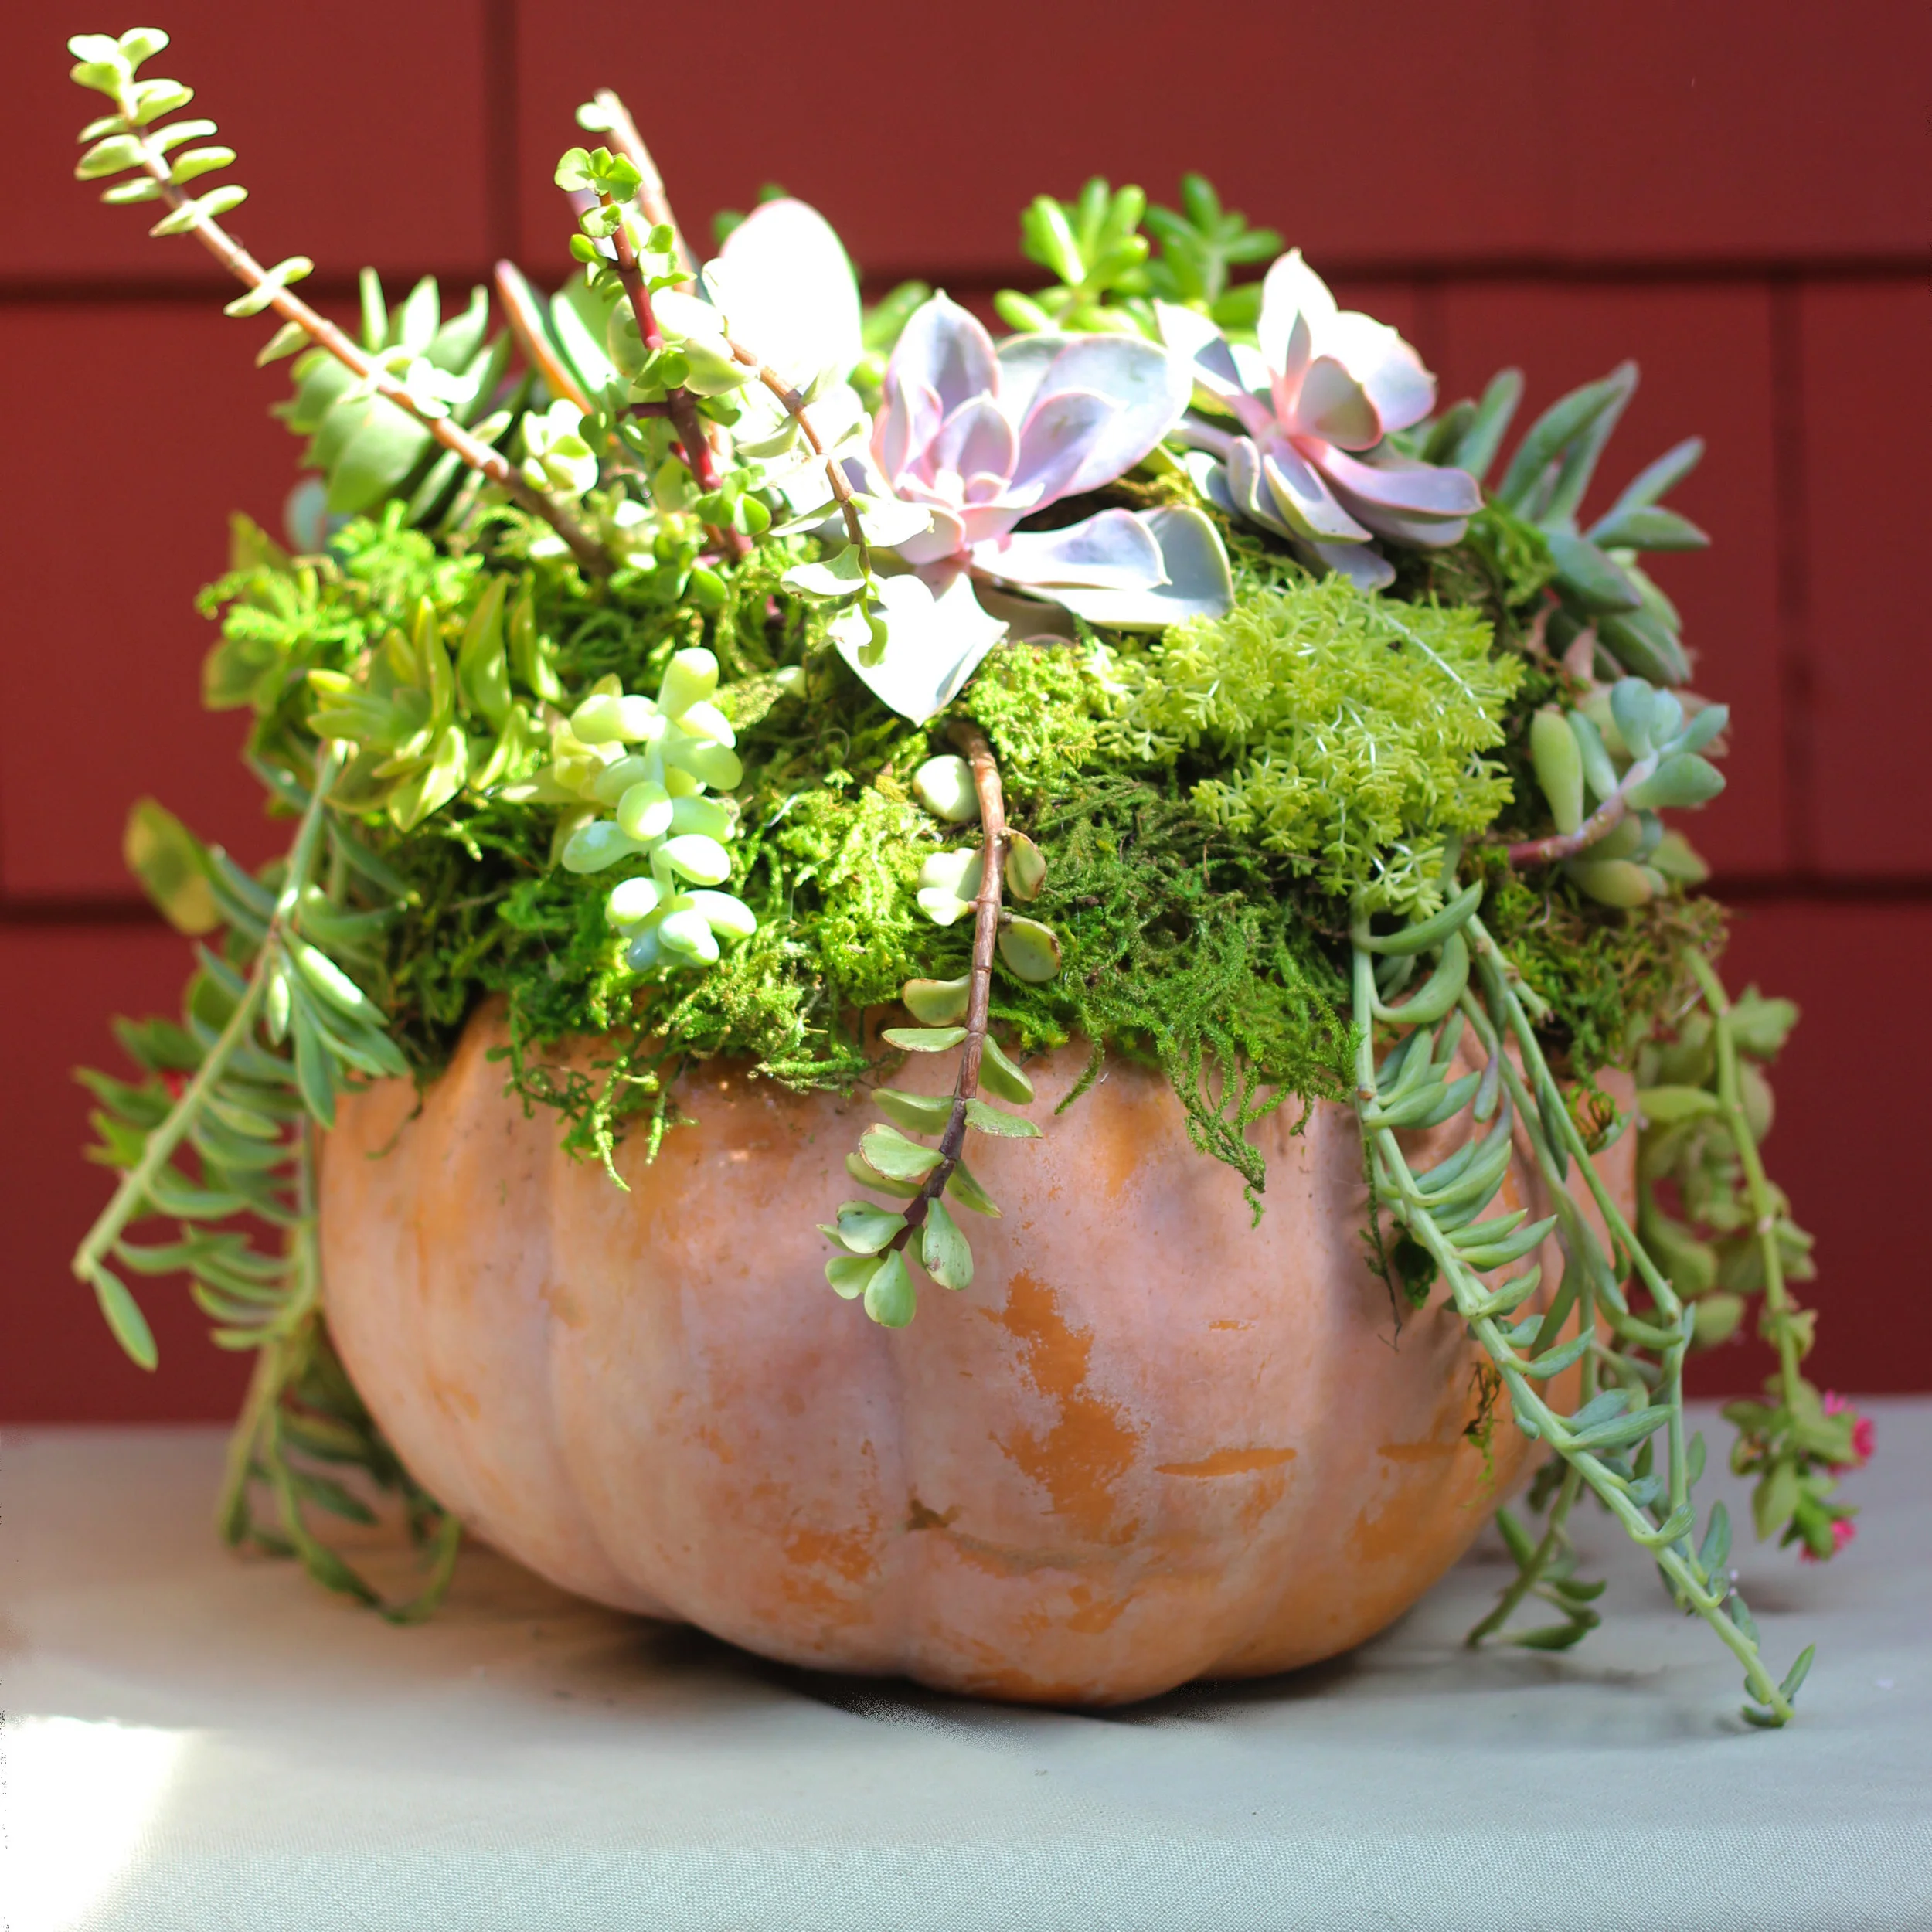
With a Cinderella Pumpkin

Fall Pumpkin Succulent Centerpiece


Normal
0


false
false
false

EN-US
JA
X-NONE


 <w:LatentStyles DefLockedState="false" DefUnhideWhenUsed="true"
DefSemiHidden="true" DefQFormat="false" DefPri…

Fall Pumpkin Succulent Centerpiece

What you need:

  • 3 small - medium succulents (I used 4 inch)
  • 1 combo succulent pack - 5 small succulents (mine were from Trader Joe's for $5.49)
  • about 25 small succulent cuttings from a yard
  • 1 Cinderella Pumpkin 
  • a bag of Sphagnum moss (mine was from Michael's)
  •  

Supplies:

  • a glue gun and a glue stick, or clear gel tacky glue
  • an old pie pan or piece of cardboard to put the hot glue gun on
  • a pencil to use as a push stick.  You don't want to get burned.
  • spray adhesive (I used Design Master Tack 2000)
  • gloves

Steps: 3


Rated: Easy Arrangement

This is a fun and beautiful way to bring a little fall to your dining room table and this arrangement lasts a long time.  You can buy three small to medium succulents for the center of the arrangement and the rest will be smaller.  You want variety to make it interesting.  I recommend buying a small container planted with several succulents, like the one I purchased or a combo pack.  You get more for your money that way.

Supplement the main plants with succulent cuttings.  Make sure to let your cuttings sit for a day before gluing them so the ends will dry.  Then, you can hot glue the ends and they will root through the glue into the sphagnum moss!  OK, that sounds unbelievable, I know, but it's Halloween and spooky stuff happens on Halloween.  If you use a hot glue gun make sure to use a push stick and not your fingers!  As many times as I have used a hot glue gun, I forgot to use a push slick and had to cut up the aloe vera plant in my kitchen to remedy the situation.  Ouch!  Don't let your kids do this with a hot glue gun.  You can also use clear gel tacky glue, but then you have to hold the succulent in place until it dries.

You will also want to use a pair of disposable gloves because you will be using spray adhesive to adhere the moss onto the pumpkin, and you don't want to get spray glue all over your hands and then press them into moss, but hey, I know its Halloween, and you could be "Mrs. Green-hands".  I would recommend getting a Cinderella Pumpkin that has more of a depression in the center, which will give you more space to work with.  (I picked a nice flat one, which looked great, but hindsight is better.)  You can also use a little bunch of moss for support under the side of the larger succulents.  Just spray a little adhesive onto it and tack it onto the moss already down.

Oh, don't forget, the succulents won't live without water.  You need to mist them daily with a spray bottle.  Once your pumpkin goes kaput you can cut the top of it off and put your garden in the ground outside.  

If you have your succulents, moss, and Cinderella Pumpkin, we are ready to roll.  Important:  Once started, you must finish before midnight.
 

Let succulent cuttings sit for a day before gluing. &nbsp;Don't place in direct sun.

Let succulent cuttings sit for a day before gluing.  Don't place in direct sun.

3 small to med for center. &nbsp;Combo plantings are a good value.

3 small to med for center.  Combo plantings are a good value.

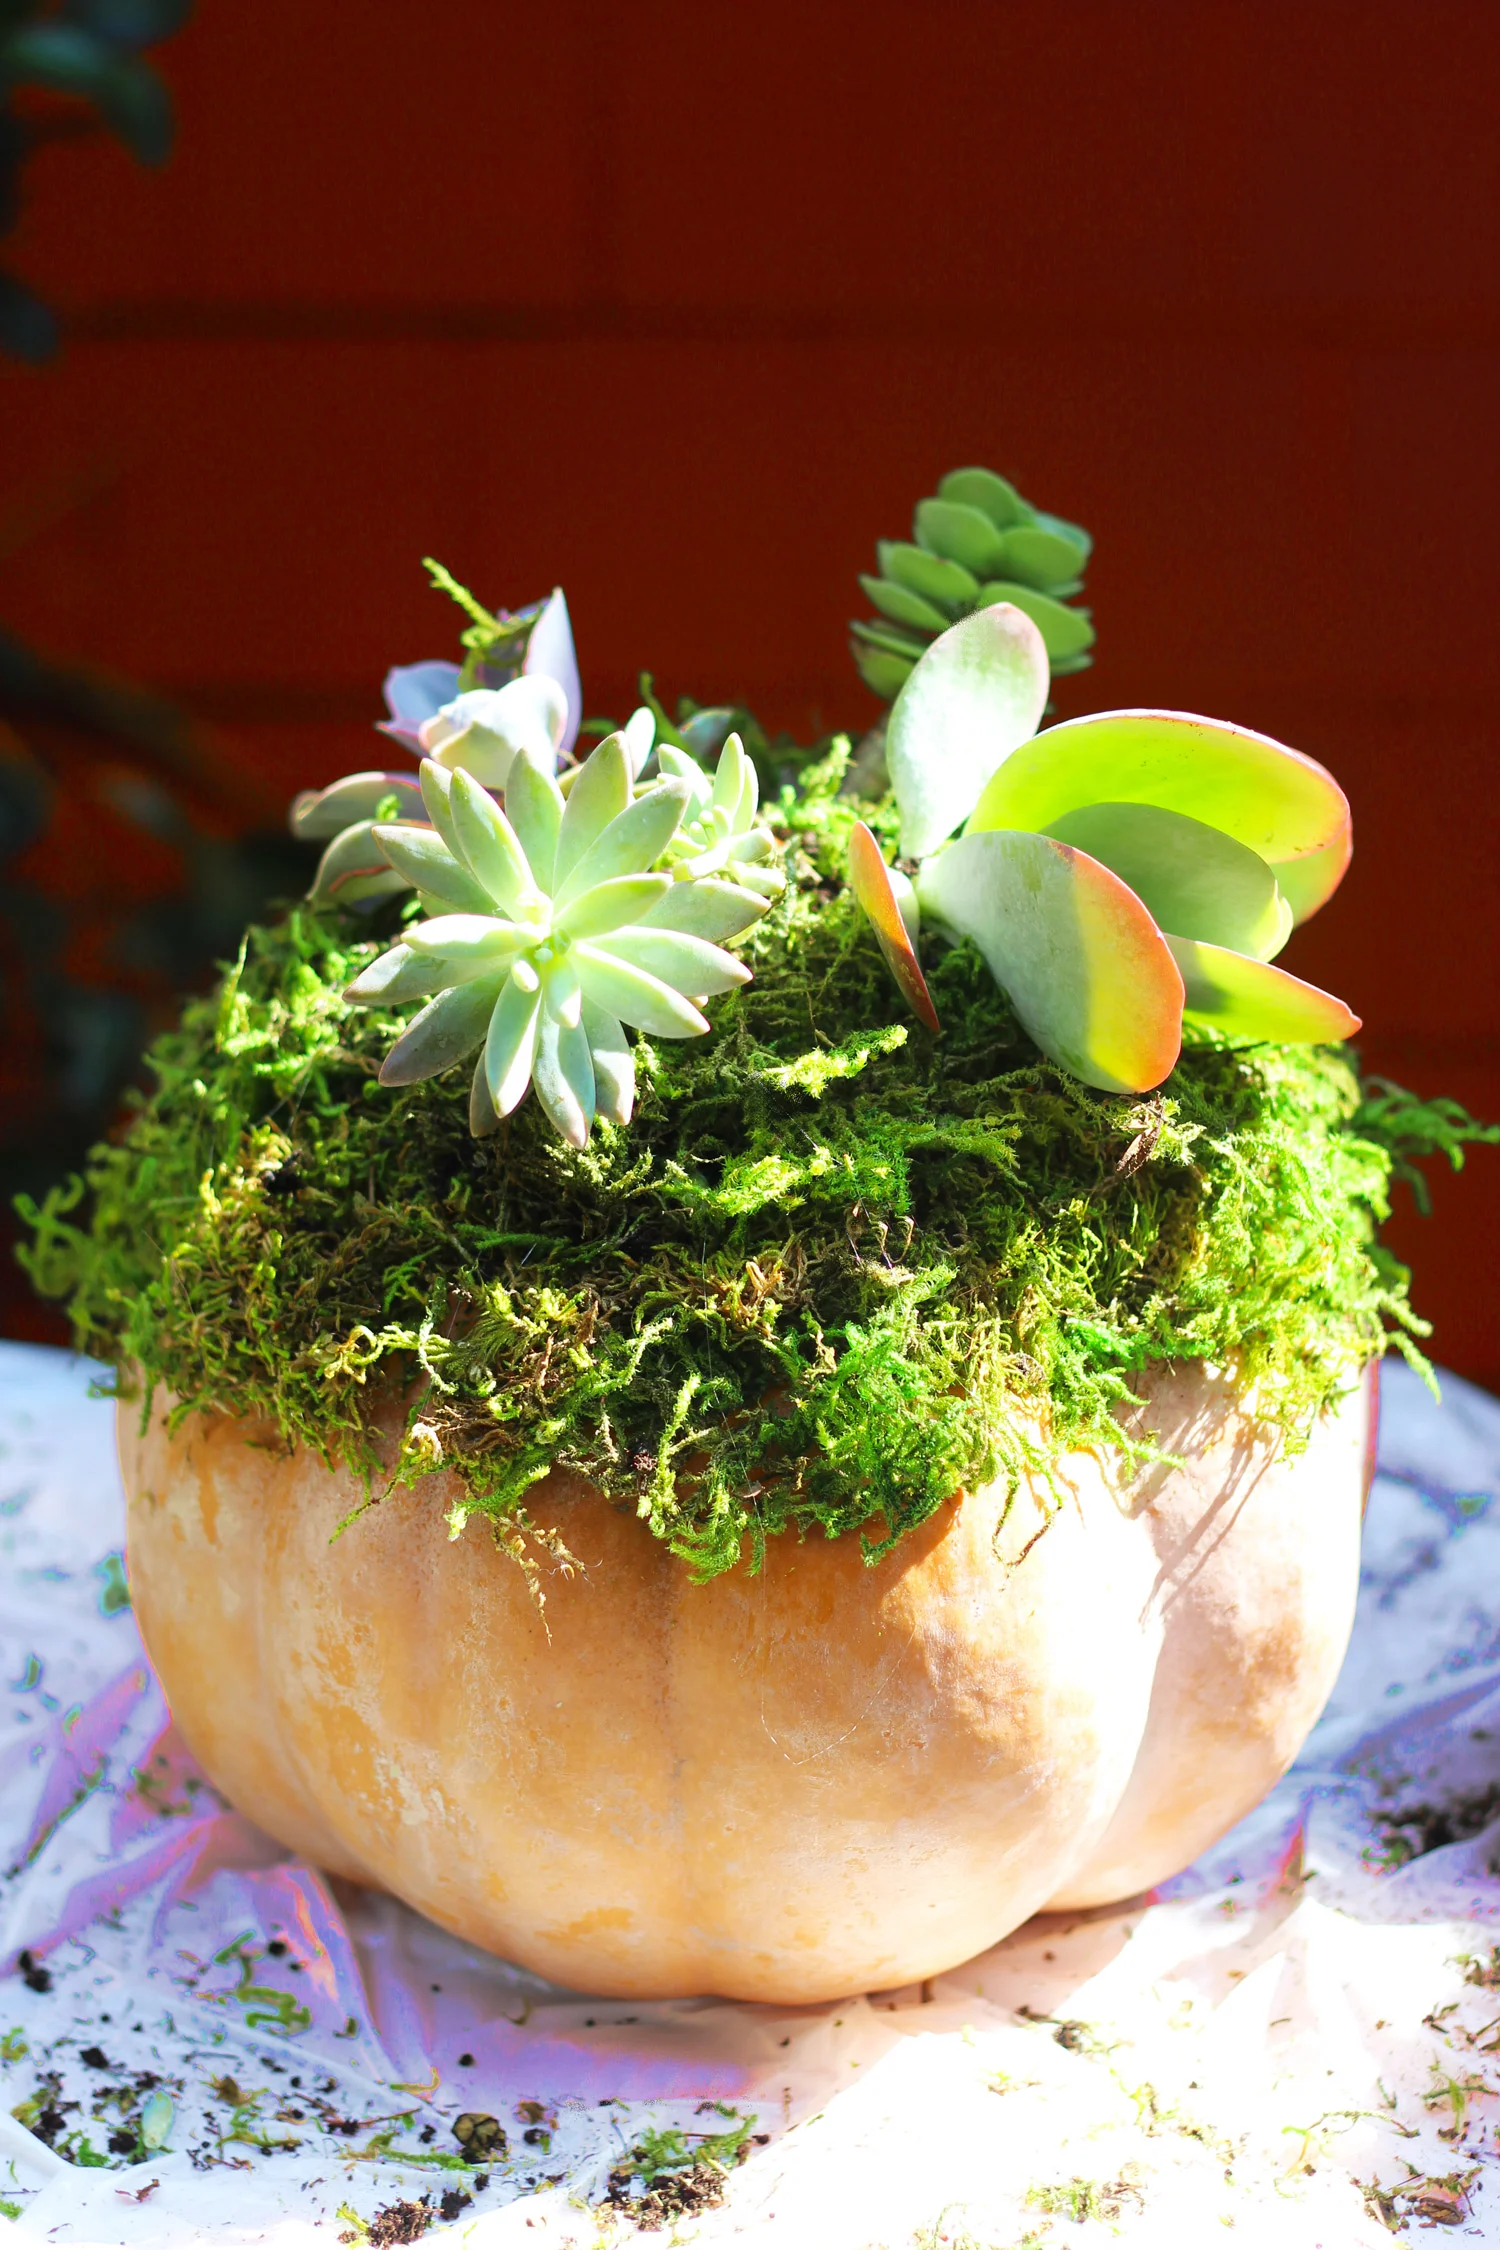
Put plastic down to protect your surface and spray adhesive on top of pumpkin.

Put plastic down to protect your surface and spray adhesive on top of pumpkin.

Push moss down and stick onto top of pumpkin.

Push moss down and stick onto top of pumpkin.

Knock dirt of roots of planted succulents.

Knock dirt of roots of planted succulents.

Then put hot glue on bottom of plant.

Then put hot glue on bottom of plant.

Glue three largest in the center.

Glue three largest in the center.

Like so.

Like so.

Take 3 long succulents ( Fish-hooks are shown here). &nbsp;Put glue on ends. &nbsp;Stick in &nbsp;near the top.

Take 3 long succulents ( Fish-hooks are shown here).  Put glue on ends.  Stick in  near the top.

place 3 on each side hanging down.

place 3 on each side hanging down.

Place some hanging down in the front. &nbsp;These add interest because they have little red flowers on them

Place some hanging down in the front.  These add interest because they have little red flowers on them

Place some hanging down in the back. &nbsp;Pictured are ones with flowers and fish-hooks.

Place some hanging down in the back.  Pictured are ones with flowers and fish-hooks.

Fill in with cuttings. &nbsp;If needed us clump of moss to support under succulent. Front.

Fill in with cuttings.  If needed us clump of moss to support under succulent. Front.

The different shades of purple and green add variety. &nbsp;Left side.

The different shades of purple and green add variety.  Left side.

Glue some sticking up on the top for added interest. Back side.

Glue some sticking up on the top for added interest. Back side.

Finish all four sides. &nbsp;Its like a sculpture. &nbsp;Right side.

Finish all four sides.  Its like a sculpture.  Right side.

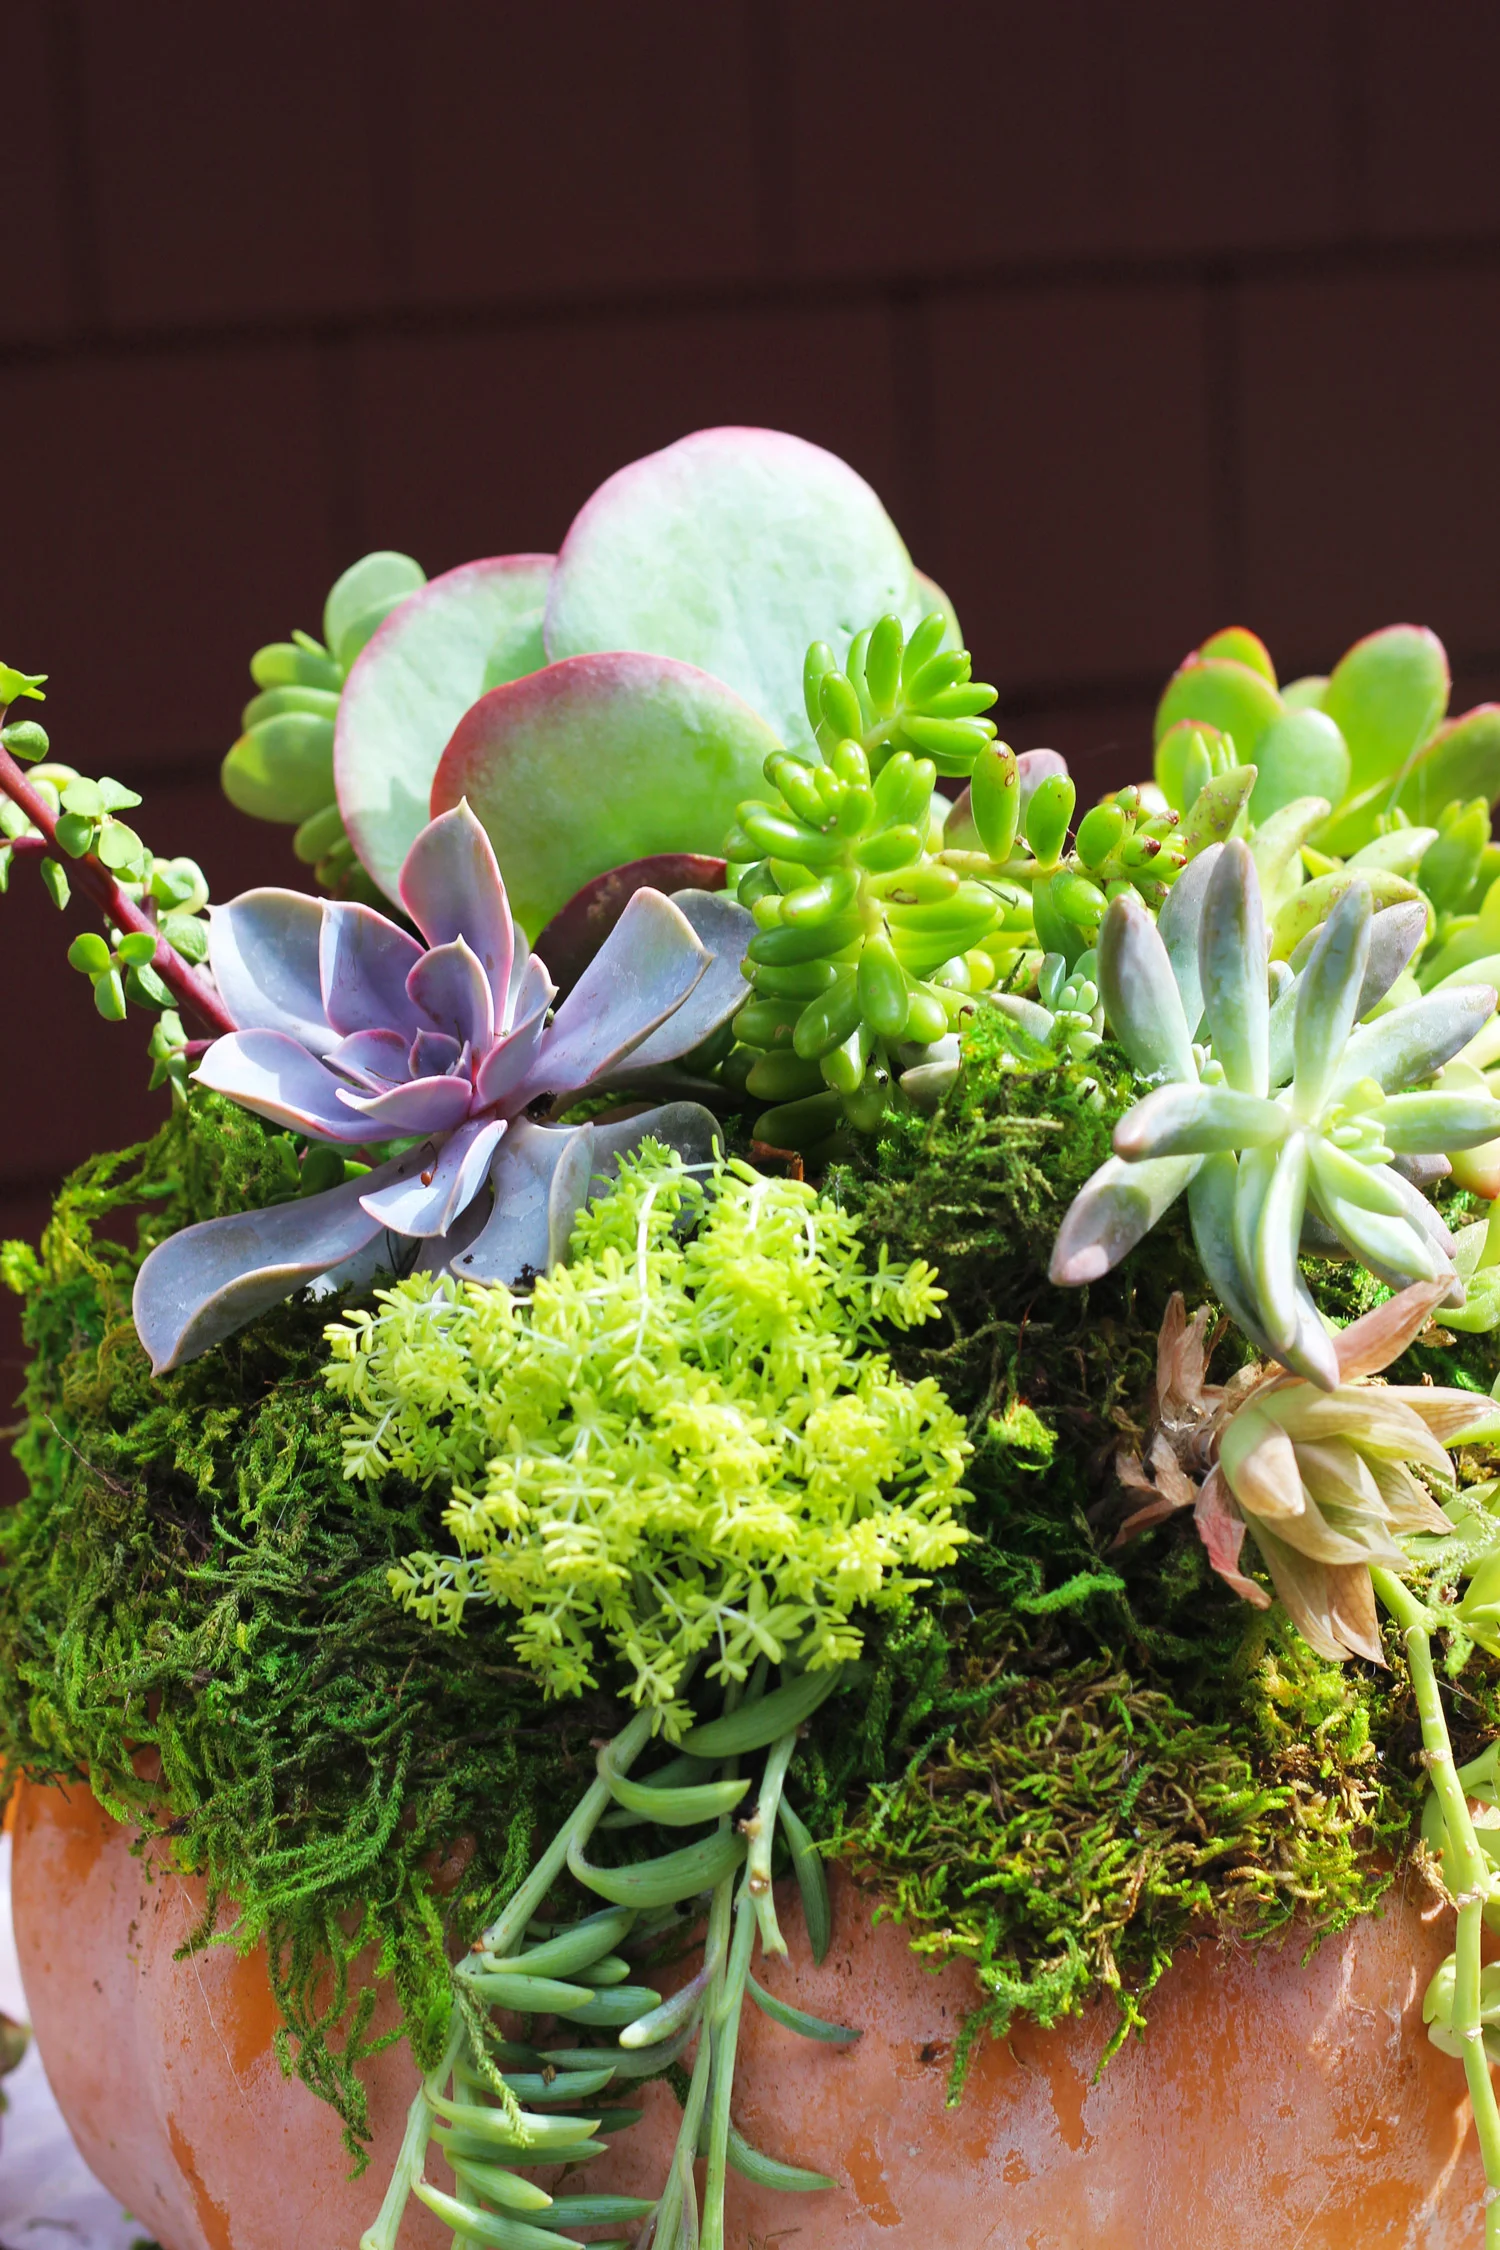
3 tall succulents are added to the top center. &nbsp;The bright green below the 2 purple succulents on the left is also a succulent.&nbsp;

3 tall succulents are added to the top center.  The bright green below the 2 purple succulents on the left is also a succulent. 

This looks like a moonscape...other worldly.

This looks like a moonscape...other worldly.

Detail of the top. &nbsp;This is really fun.

Detail of the top.  This is really fun.

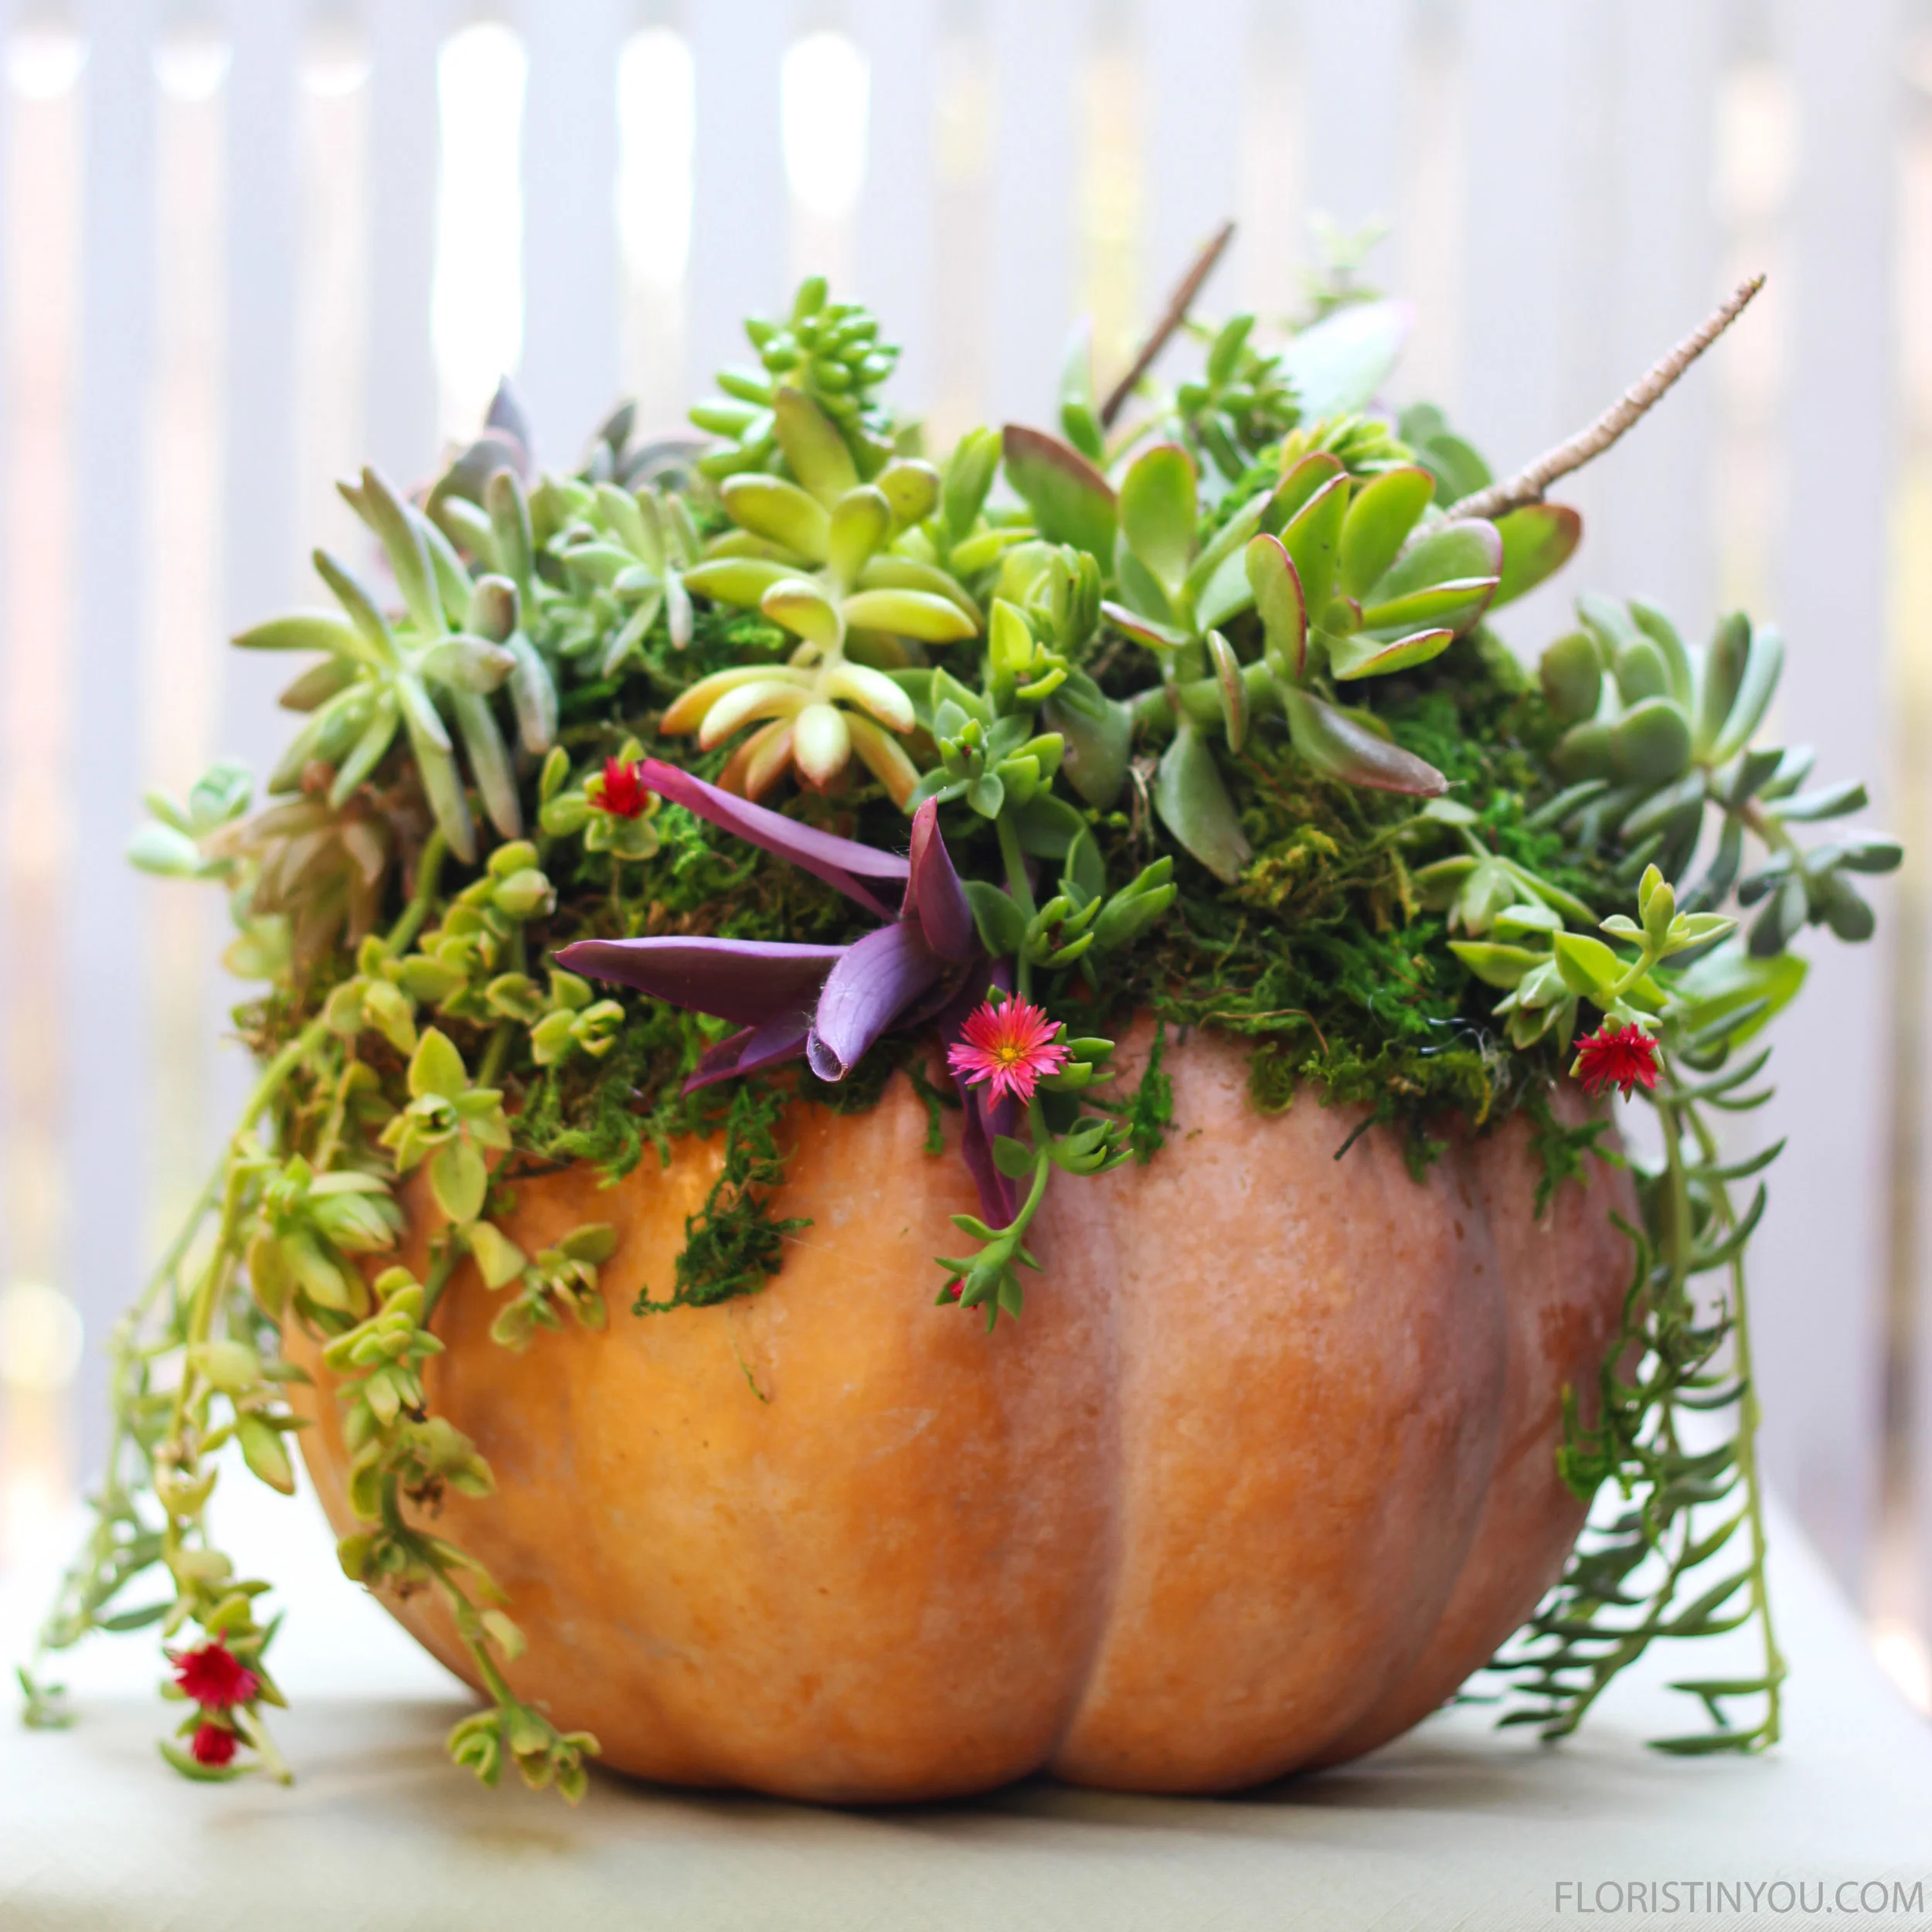
Detail of the 'Wandering Jew' in purple and the flowering succulents.

Detail of the 'Wandering Jew' in purple and the flowering succulents.

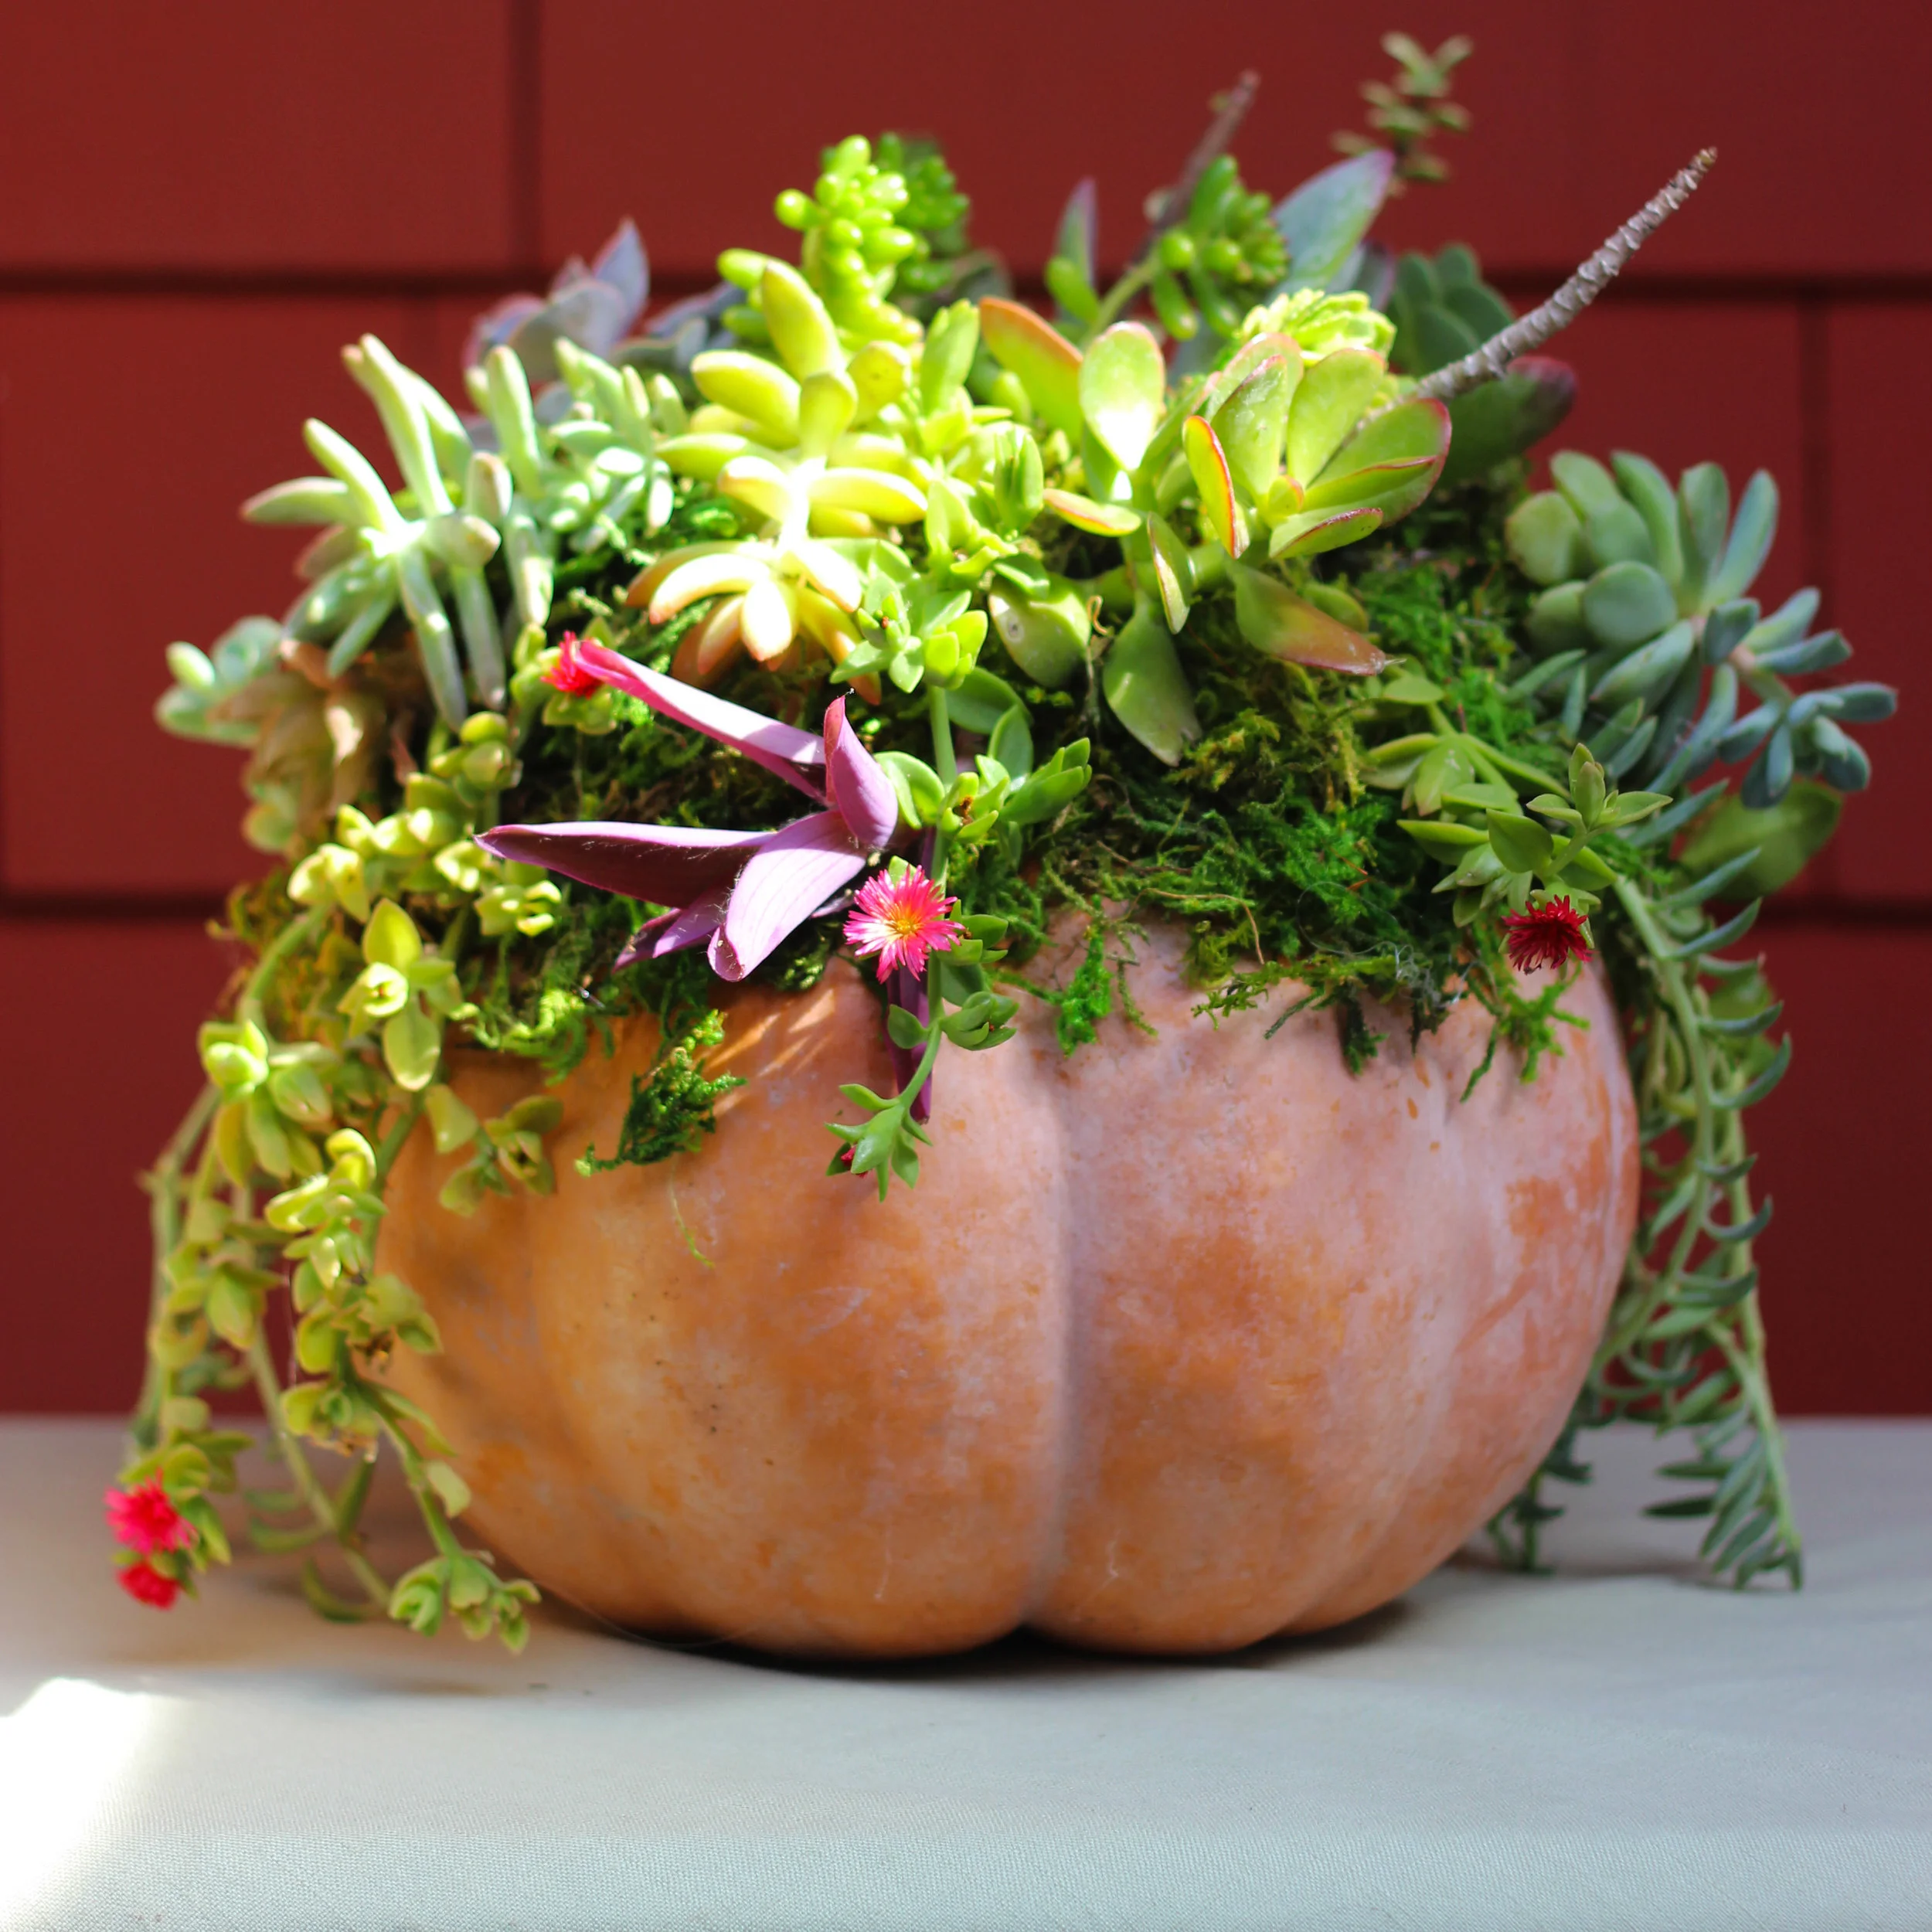
And we are done. &nbsp;This is the side but all the sides are good.

And we are done.  This is the side but all the sides are good.

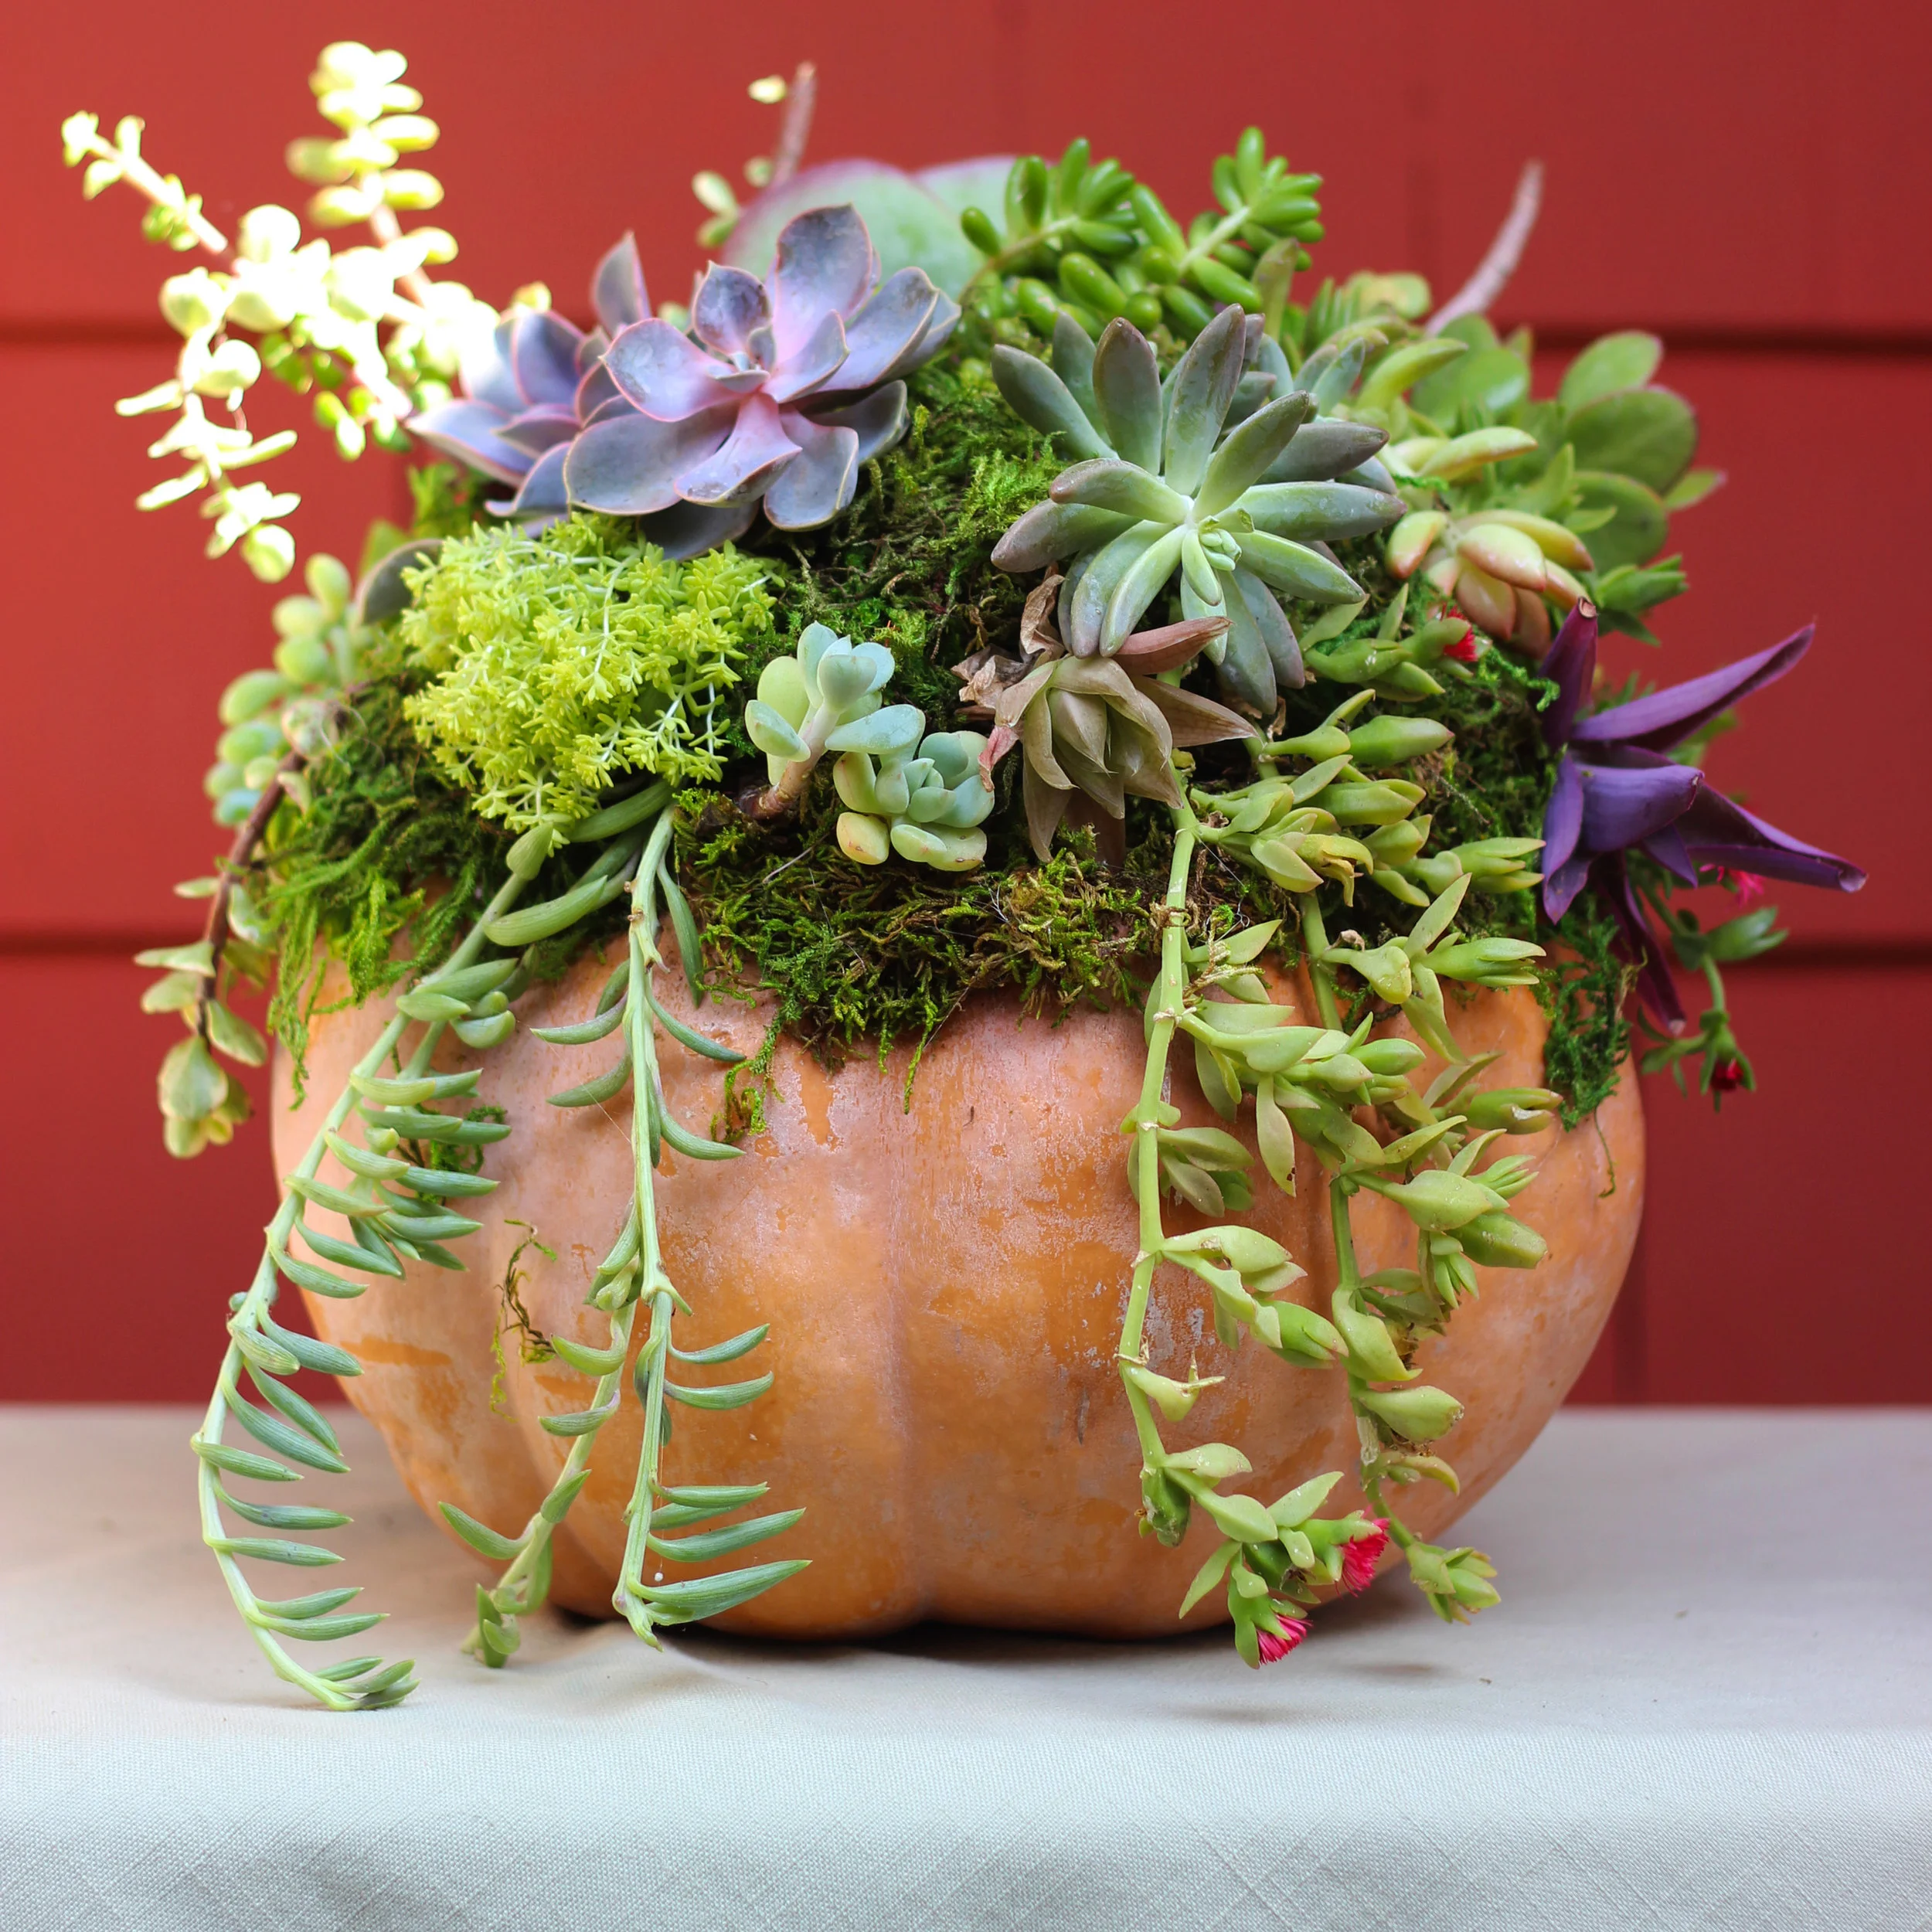
This is the front. &nbsp;Hope you had fun.

This is the front.  Hope you had fun.